Wireless Arduino Using 315Mhz RF Transmitter and Receiver Module Leave a comment
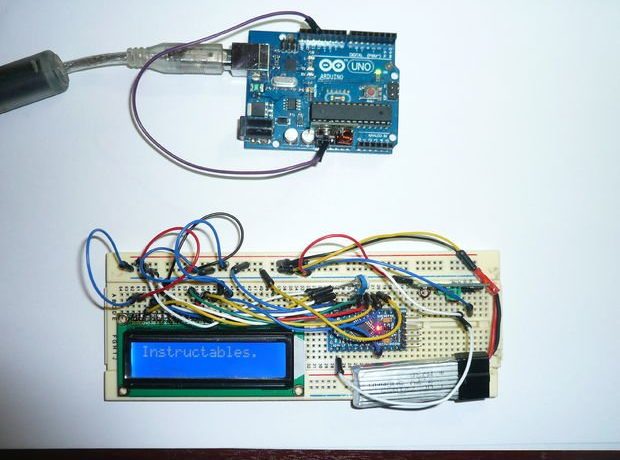
325Mhz – 433Mhz RF Transmitter + Receiver Module Link Kit will allow us to connect two Arduinos and that can communicate. Data you send on computer Transmitter show on Arduino Receiver screen.
Step 1:

You will need for this project:
- Arduino Uno
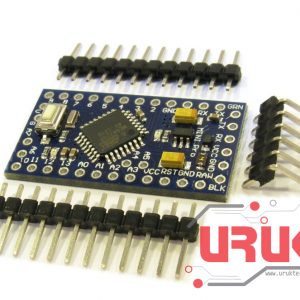
- Arduino Pro MINI.
- 16×2 LCD Display.
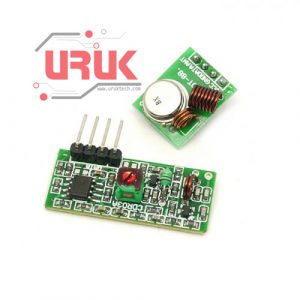
- 433Mhz or 315Mhz RF Transmitter + Receiver Module Link
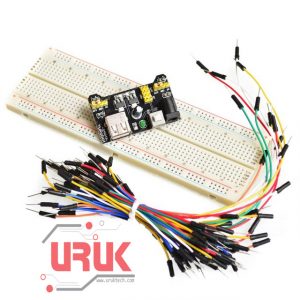
- Prototype BreadBoard
- Cables
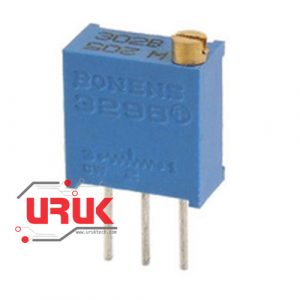
- 10k potentiometer
Step 2:
How to upload sketches on Arduino Pro MINI.
1. Remove Atmega328 from Arduino UNO
2. Using male-to-female cables connect Pro MINI to UNO RX-RX; TX-TX; 3. RST-RST; GND-GND; VCC-+5V
4. Change in Tools-Board-Arduino Pro or Pro MINI
5. Upload sketch


Step 3: Receiver scheme
Connect the circuit according to the schemes below, and upload the code which you can find at the code Section (Receiver Part).


Step 4: Transmitter scheme
Connect the circuit according to the schemes below, and upload the code which you can find at the code Section (Transmitter part).


Finally:
Print any message to the Serial Monitor window. End with point “.” and press ENTER.


Transmitter Code
#include <VirtualWire.h>
char cad[100];
int i=0;
void setup()
{
Serial.begin(9600);
vw_setup(2000);
Serial.print(“End with \”.\” each data”);
}
void loop()
{
if( Serial.available() > 0)
{
cad[i] = Serial.read();
i++;
}
if( cad[i-1] == ‘.’)
{
cad[i] = ‘\0’;
i=0;
vw_send((byte *)cad, strlen(cad));
delay(400);
}
}
Receiver code
#include <VirtualWire.h>
#include <LiquidCrystal.h>
LiquidCrystal lcd(7, 6, 5, 4, 3, 2);
char cad[100];
int pos = 0;
void setup()
{
lcd.begin(16, 2);
lcd.setCursor(1, 0);
vw_setup(2000);
vw_rx_start();
}
void loop()
{
byte buf[VW_MAX_MESSAGE_LEN];
byte buflen = VW_MAX_MESSAGE_LEN;
int i;
if( vw_get_message(buf, &buflen) )
{
if(pos < 2)
lcd.setCursor(0, pos);
else
{
pos=0;
lcd.clear();
}
for (i = 1; i < buflen; i++)
{
lcd.print((char)buf[i]);
pos++;
}
}
}
The items used in this experiment
المواد المستخدمة في التجربة يمكنكم اضافتها الى سلة مشترياتكم مباشرة من هنا
-
-
Input Peripherals, Screens, Shields
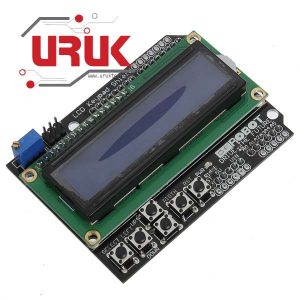
LCD16x2 Keypad Arduino Shield Blue Backlight
شيلد LCD و Keypad خاص بالاردوينو (اونو – ميغا – ليوناردو) مفيد جدا في كثير من التطبيقات حيث يحتوي على ازرار تحكم مباشرة يمكن التعامل معها برمجياً مع شاشة LCD بحجم 2×16، اي يمكن طباعة سطرين بواقع 16 رمز أو حرف لكل سطر ولون الإضاءة الخلفية زرقاء، افضل خيار لعرض الكتابات والقراءات وتستخدم بكثرة في جميع المشاريع والأجهزة.SKU: 162

